Rebel Galaxy Outlaw is a single-player, space sandbox game developed by Double Damage Games. It was initially an Epic Store exclusive in 2019 and released on Steam and other platforms a year later.
Rebel Galaxy Outlaw is infamous for being the first Epic store exclusive. This decision led to review-bombing and bad press. However, this is unfair. The poor early reviews had little to do with the game itself.
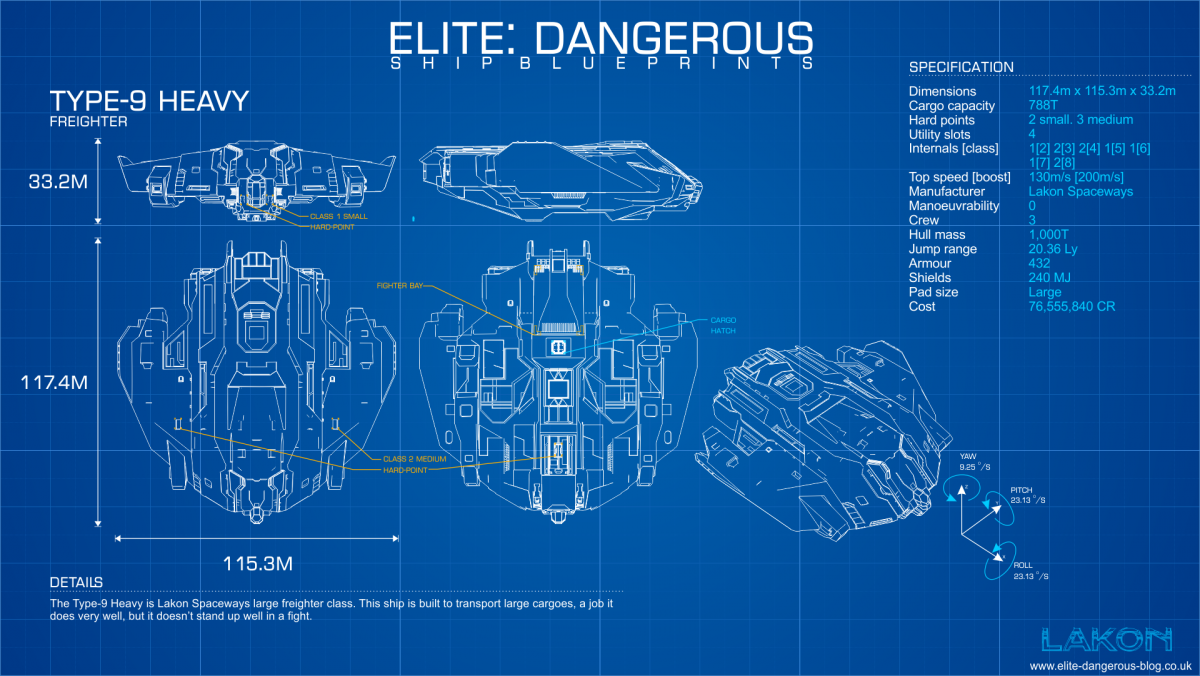
Rebel Galaxy Outlaw is also not the best space sandbox game available. Elite Dangerous and its peers do just about every game loop better. However, Rebel Galaxy Outlaw never intends to compete at that level. Instead, it is cheap and developed by a small studio that lacks the resources of a AAA behemoth. It packs a lot into a small package.
You play as Juno Markev, an out-of-luck ex-space pirate. The opening cell-shaded cinematic shows her crashing on a planet after unsuccessfully confronting her husband’s killer. Juno calls in a favour to get a modest replacement. She then must juggle repaying her debts, upgrading her ship and unravelling her past.
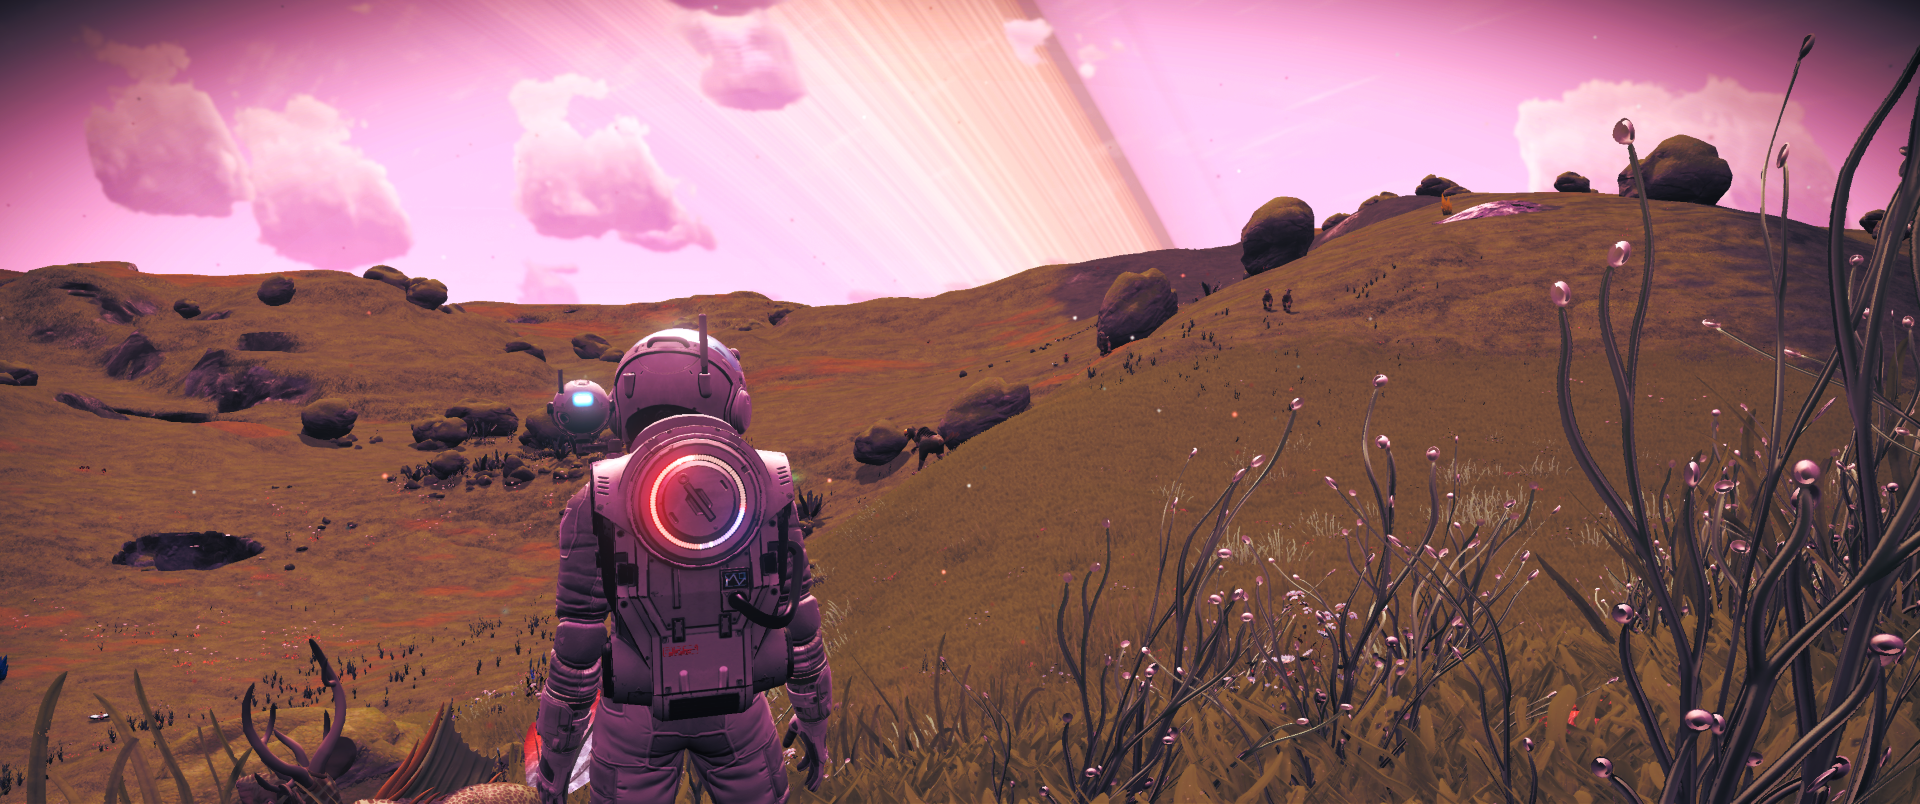
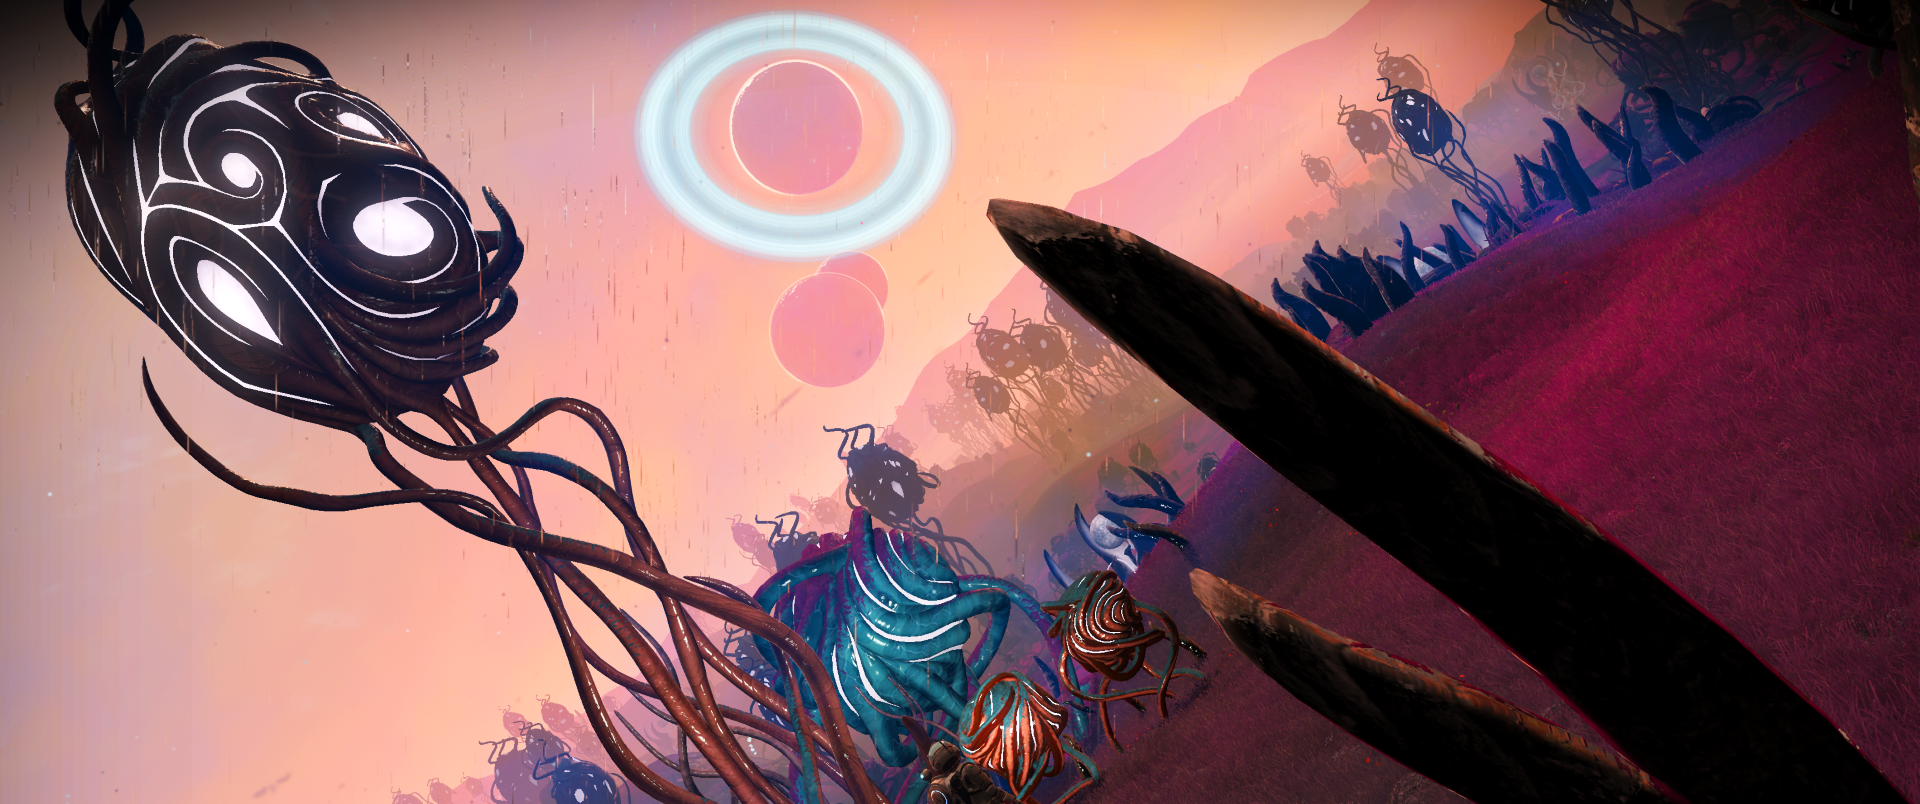
Rebel Galaxy Outlaw‘s gameplay consists mainly of combat with some trading, piracy and asteroid mining. These earn credits to afford better ships and equipment. Experimenting and exploring are helpful but optional. They can reveal poorly explained mechanics, side quests, rare weapons, lucrative mining spots or beautiful nebulae.
Unlike Elite Dangerous and similar games, Rebel Galaxy Outlaw has a light, grungy, blue collar, “space trucker” style. The default radio station plays heartland rock and advertises discount ammunition and cheap beer. All technology looks retro-futuristic, old and second-hand. Many star systems are named after working-class southern or central US states. The region of space is called Dodge, like the famous lawless US frontier town. You can play eight-ball pool or dice poker to unwind, the genre equivalent of fishing.
Rebel Galaxy Outlaw is the prequel to Rebel Galaxy, Double Damage Game’s previous game. They share the setting and style. However, the games are different. Rebel Galaxy is about flying capital ships on a 2D plane fighting with broadside cannons. Rebel Galaxy Outlaw is about 3D fighter combat.
Instead, Rebel Galaxy Outlaw is a homage to Wing Commander: Privateer and Freelancer. While there is a central campaign and side missions, you can ignore them to explore, fight or trade as you see fit. You can unlock buddies to fight with you temporarily. You can side with the law, against it or both.
Even the graphics look like upscaled MCGA, used in Wing Commander: Privateer. The cockpit and HUDs are blocky and favour the old EGA colours. The stars are square. The game renders debris as sprites. Ships have distinct silhouettes and blocks of bright colours.
Rebel Galaxy Outlaw plays best on a controller. While not as precise as a keyboard and mouse, the vibration makes you feel every shudder of acceleration and weapon recoil. The game’s aim-assist helps, too.
To be fair, Rebel Galaxy Outlaw is not flawless. Encounter difficulty can vary considerably. Auto-saves are regular and reloads quick, but unexpected deaths can still be frustrating. One mission requires non-lethal takedown of enemies, but you must manually remove any turrets beforehand. It is easy to miss some side missions, like those in Eureka.
However, Rebel Galaxy Outlaw surprised me. I had a fun 40 hours or so. You can complete the campaign faster if you do the minimum. However, getting distracted and blazing your own trail is part of the point. Fans of space sandboxes, Wing Commander: Privateer or something light and stylized will enjoy themselves. Do not let the poor early reviews fool you.